


A Sourdough Starter Guide
In just 6 days you can create your own sourdough starter and discover a world of the best breads, buns, pizza, pastries and more!

Hey there Bread Friend

Finally, here we are – at the beginning of your sourdough journey! And luckily you start out with the easiest part within sourdough baking – just mix flour and water and wait for it to ferment.
When you see signs of activity with bubbles and rising, you start discarding (throwing away) most of your sourdough starter and feeding it every day with new flour and water, until it becomes more and more balanced with the right strains of microbes.
When your starter becomes more reliable, rising and falling in an even flow, it has produced enough Yeast Cells and Lactic Acid Bacteria, to be strong enough to make a bread rise.

New vs Old starter
Many think that you need a very mature sourdough starter, that has been cared for through many years, or even passed down from generation to generation in order to produce fantastic sourdough breads. But this is not the case – and to prove this, I made a test between 2 breads:
One bread made with a new sourdough starter, created just 6 days prior with my own Sourdough Starter Guide, and a bread made from my old starter, that I have fed and cared for through the past 4 years!

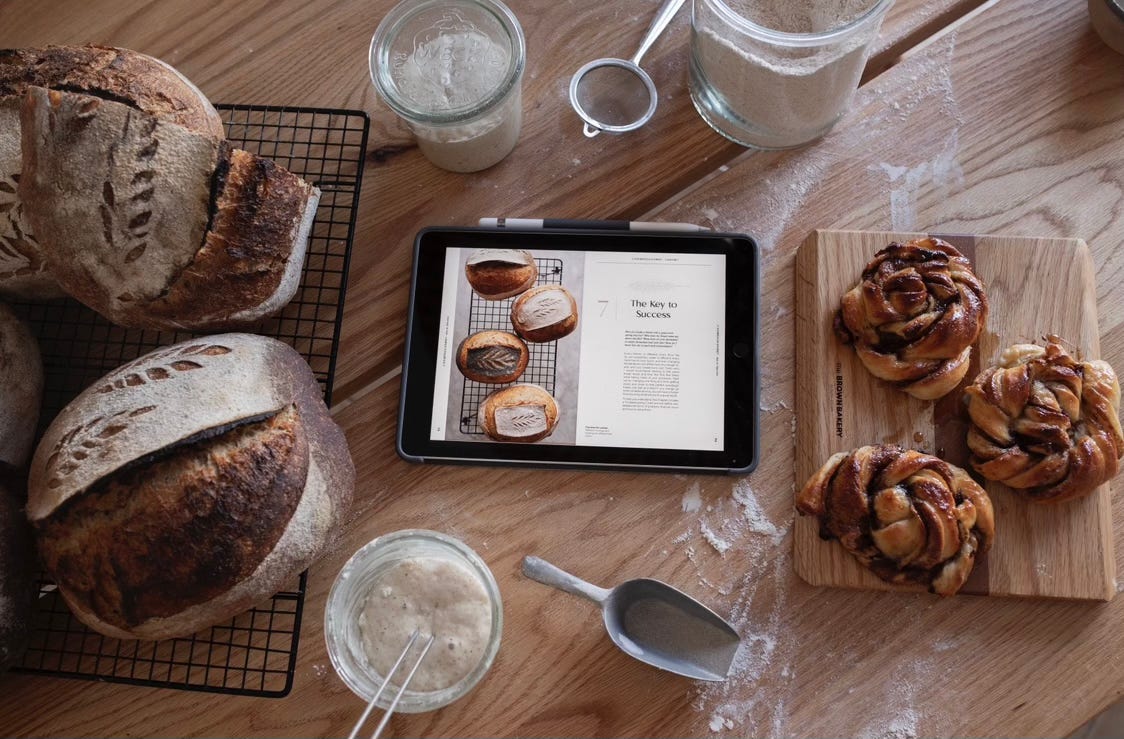
The new starter gave a bit more of a wilder and open crumb and a bit smaller bake compared to the old starter – see the crumb comparison pictured above. Other than that, the two breads were identical in taste, texture and looks. Also, throughout the process, the doughs needed the same amount of proofing time.
This sourdough guide is an outtake from my book A Sourdough Journey where you will also find a guide to making a bread step-by-step, A flour guide explaining the most used flours, A key to success Guide with trouble shooting and some of my favorite sourdough recipes on bread, seeded buns, rye bread, pizza and swirls!
If you enjoy my writing and recipes, go check out my sourdough book via the button below
And as a thank you for your support — A 10% discount link can be found for all paid subscribers at the bottom of this newsletter.
Thank you for being here! Now let’s dig into the guide below!
xx Alisa
A Sourdough Starter Guide

You Will Need
Equipment: (Contains affiliate links to my preferred baking tools)
2 x Glass jars with a loose lid (I like to use this size Weck Jars)
1 x Rubber band
1 x Baking scale in grams
1 x Rubber dough spatula
Flour:
Organic White Flour (All-Purpose or Bread Flour)
Organic Whole Grain Rye Flour
Note: Make a flour-mixture of 200 g White Flour and 200 g Whole Grain Rye in a closed container. Then it literally only takes a couple of minutes to do your daily sourdough feedings.
Water:
Water at room temperature (21°C) Make sure to use bottled or filtered water if your tap water system is chlorinated, since this can kill the natural microbes in the flour and slow down the process
Note: Have a pitcher filled with water so you use room tempered water, since cold water slows down the fermentation process. Or heat water to 26-28°C for faster fermentation.
DAY 1 - Mix flour & water and let the magic happen

Morning
I recommend starting this guide in the morning, so you don’t miss out on your sourdough starter’s first signs of activity – seeing how it rises to peak and falls again during Day 2
Step 1
40 g Water
40 g Flour-Mixture
Mix water and flour with clean fingers in a glass jar. I prefer using a 580 ml glass jar from Weck because of its wide opening and the glass lid lets in air. By using your hands in the beginning, you help add good microorganisms to the starter and kickstart the fermentation process. Remove the dough from your fingers with a dough spatula and scrape down dough from the inside of the glass jar, so you can see how much it grows while preventing the starter from drying out and getting moldy on the sides.
Step 2
To see how much your starter grows, place a rubber band around the glass jar at the same level your starter mixture reaches to. Cover the opening loosely with a lid or cover with a cloth the first few days, since it’s important for the yeast and bacteria to have access to oxygen.
Step 3
Let the jar sit at room temperature until tomorrow evening. Find a warm spot, ideally around 26-28°C and not in direct sunlight.

DAY 2 - First feeding

Keep reading with a 7-day free trial
Subscribe to A Sourdough Journey by Alisa to keep reading this post and get 7 days of free access to the full post archives.