"Night Shift Buns" — The Easiest Bread You Will Ever Bake
Back in my busy ER-nurse days, this recipe was a lifesaver! A no-knead dough stirred together with a spoon. No sticky fingers or messy table!
Hello there Bread Friend!
I am a bit behind on posting recipes for you and find it fitting by starting out again with The easiest bread you will ever bake!
This recipe isn’t sourdough, but it’s where my journey began. It was the first bread recipe I ever learned to bake — a very simple, no-knead dough that you stir together and scoop out with a wet spoon.
As a nurse on night shifts, this recipe was a lifesaver. The smell of freshly baked bread filling the entire ward was a little piece of comfort we all looked forward to. My colleagues and I would take turns bringing a bread dough to work and coordinating between us which bread toppings to bring. Whoever had a free moment between 2 and 5 a.m. would bake the buns for us all, as they are so easy and quick to scoop out with no sticky fingers or messy table!
Every now and then, I go back to this recipe. It’s the perfect choice for last-minute baking — those evenings when you suddenly decide you want fresh buns in the morning.
It’s also a favourite bread recipe when I bring my 4-year-old into the kitchen to bake with me. It’s so easy and forgiving that it makes the process fun for both of us (IYKYK) ;)
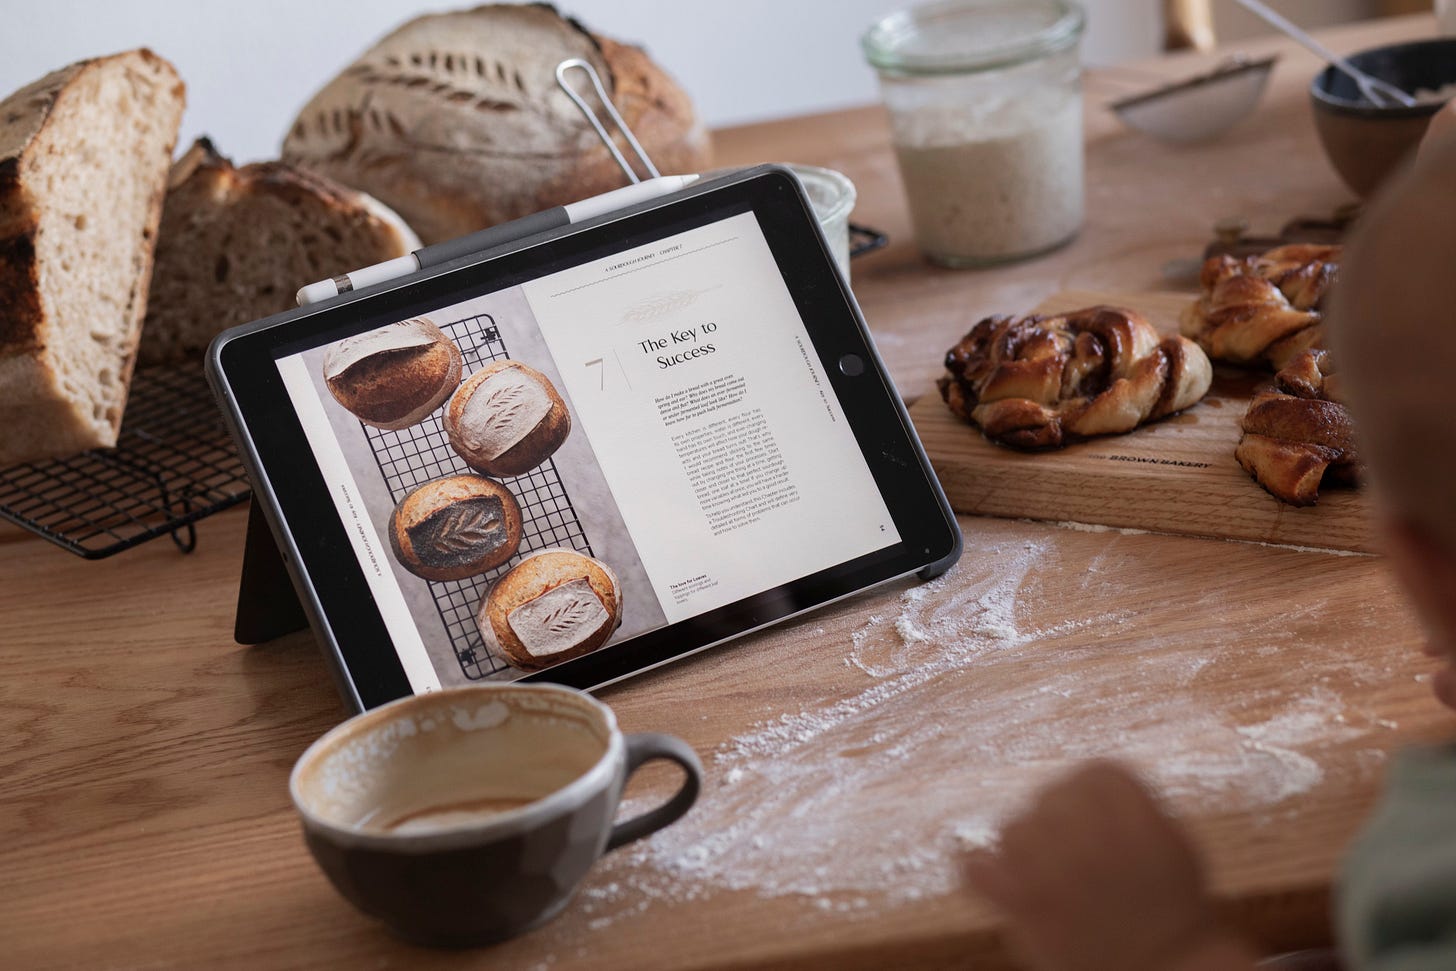
If you love bread recipes and want to explore the world of sourdough baking, my Sourdough Book has everything you need to get started — from tips and tools to step-by-step guides for all levels of bakers, and how to master your perfect sourdough bread through my Key to Success Guide

Recipe — Night Shift Buns
Yields: 12 buns
Duration: 3-12 H
Hands on time: 20 min.
I N G R E D I E N T S
500 g Water
10 g Yeast
60 g Oats
20 g Honey (1 tbsp)
40 g Seeds of Choice (ex: sesame, sunflower, flax)
50 g Whole Wheat Flour
500 g Bread Flour
6 g Salt
BA K I N G T O O L S
Contains affiliate links to my preferred baking tools:
Baking Steel
Baking scale in grams
Container/Bowl with lid
I N S T R U C T I O N S D A Y 1
Step 1: Mixing the Dough
In a bowl or container, mix all ingredients with a spoon. The dough should resemble a thicker oatmeal consistency. Cover with cling wrap or a lid.
You can now do 3 things with the dough:
Leave 15-30 min at room temp. then cold rise in the fridge overnight.
Let the dough rise about 2 hours at room temperature and bake immediately.
Rise for 45-60 min at room temp. then fridge until you want to bake a couple of hours later in the day.
I N S T R U C T I O N S D A Y 2
Step 1: Preheat Oven
Preheat the oven to 250°C fan setting for 40-60 min. with a baking steel or oven sheet inside. Place an empty tray on the bottom of the oven for adding steam later on while baking the buns.
Step 1: Scooping out buns
Remove the dough directly from the fridge and scoop out with a wet spoon. Take care not to press out too much air from the dough. Shape the buns by scooping some dough carefully towards the edge of the bowl. It might be easier working with 2 spoons like when scooping cookie dough. Place the dough carefully and evenly spaced onto a lined baking sheet in rows of 4 x 4.
Step 3: Bake
Bake at 230°C fan setting for 6 minutes with steam, then an additional 8-10 minutes without steam, until golden brown. Let cool a bit on a wire rack before cutting, so the crumb can set.
As always, I would really appreciate hearing from you - leave a comment or reply to this email <3 Or show me your creations by tagging me on social media @the_brown_bakery or @a_sourdough_journey
Happy baking!
And here’s to making memories (and easy bread!) at home.
Xx Alisa


These are seriously SO easy and good! I'm definitely going to be making these regularly. :)
These Buns were a life-saver during my Night Shift Days. Imagine - being interrupted in your work at 2-3 a.m. with the smell of newly baked buns filling the hallways. Perfect for a short work break or on the go!